Tutorial for using Victory with React and React Native

What is Victory?
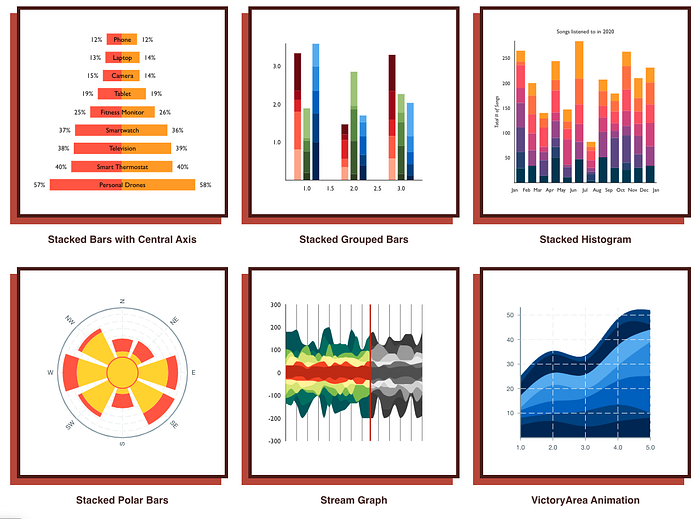
Victory is a data visualization library that uses React components to render clean and dynamic charts. It allows users to easily add fully customizable styles and behaviors for their charts without sacrificing flexibility. Victory uses the same API for both the web and React Native applications to allow for easy cross platforming charting.
Creating a basic React app that uses Victory
Clone down the Victory boilerplate tutorial into your local machine https://github.com/FormidableLabs/victory-tutorial.
- Once cloned open the directory in a text editor of your choice I would suggest Visual Studio Code.
- The repo provides a finished version of the tutorial demonstration so to start from scratch go in the client.js file in the src/js directory and replace with the code below.
import React from 'react';
import ReactDOM from 'react-dom';class Main extends React.Component {
  render() {
       return (
              <div>
               <h1>Victory Tutorial</h1>
               </div>
                  );
  }
}const app = document.getElementById('app');
ReactDOM.render(<Main />, app);
- After replacing the code, run
npm installto install all the necessary dependencies. - The
npm startcommand will run your webpack server on a localhost: 8080 where all your changes can be viewed. - When the server all set to go it’s time to add the Victory library by
npm install victoryand importing it into your React app
import React from 'react';
import ReactDOM from 'react-dom';
import * as V from 'victory';- At this point you are importing the entire library of Victory until you decide on which chart types you will use
- Time to add sample data either from an external API or creating your own like so.
const sampleData = [
{season: fall, people: 1500},
{season: winter, people: 900},
{season: spring, people: 4000},
{season: summer, people: 8000}
];
Adding in the Victory Components
- The first component you can add is the VictoryBar so you need to import into your client.js file at the top
import React from 'react';
import ReactDOM from 'react-dom';
import { VictoryBar } from 'victory';- You can render the VictoryBar by placing it inside your return of your class Main component
class Main extends React.Component {
  render() {
       return (
              <div>
               <h1>Victory Tutorial</h1>
                <VictoryBar />
                </div>
              );
  }
}- The Victory components include default data so even if you did not create your own data it will still be able to render
- To add your own data into the bar you would have to add to your
<VictoryBar/>component like below.
- Once you have your sample data added to your VictoryBar you can wrap it around a wrapper component such as VictoryChart
- Import VictoryChart to your client.js
import React from 'react';
import ReactDOM from 'react-dom';
import { VictoryBar, VictoryChart } from 'victory';- Add the VictoryChart component and wrap around your VictoryBar component
- Customizing the axes would require you to import VictoryAxis
import React from 'react';
import ReactDOM from 'react-dom';
import { VictoryBar, VictoryChart, VictoryAxis } from 'victory';- Adding it inside your VictoryChart like so
- There are more customizable options available such as animations or themes that can be viewed in the Victory documentation
Using Victory with React Native
- Victory is compatible with React Native 0.50 or higher
- Victory Native behaves and functions the same way for React Native as it does for the web. Just import components from
victory-nativeto get started. - To get started add Victory Native to your React Native app
npm install --save victory-native - After installing Victory Native add React Native SVG that will link the native dependencies of React Native SVG to the iOS and Android projects
npm install react-native-svg - An example code for a basic React Native Victory chart render
